Welcome back for another episode in the pattern series! This will also be the last article about Design Patterns, since I've finished reading the Head First Design Patterns book :)
It's been a very interesting journey, lots of new patterns learned, lots of knowledge gained, and now it's time to apply them in real projects.
As a summary, the overview of all articles about patterns, including the one we're going to see today:
- Long Absence - Design Patterns
- Design Patterns - Strategy Pattern
- Design Patterns - Observer Pattern
- Design Patterns - Observer/Event Pattern
- Design Patterns - Decorator Pattern
- Design Patterns - Factory Method Pattern
- Design Patterns - Abstract Factory Pattern
- Design Patterns - Singleton Pattern
- Design Patterns - Generic Singleton Pattern
- Design Patterns - Command Pattern
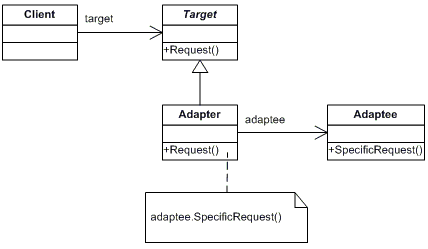
- Design Patterns - Adapter Pattern
- Design Patterns - Facade Pattern
- Design Patterns - Template Method Pattern
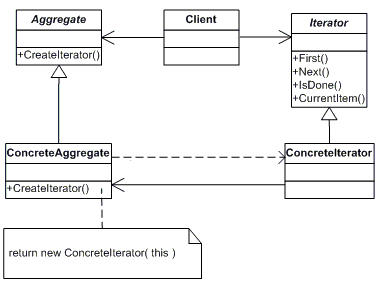
- Design Patterns - Iterator Pattern
- Design Patterns - Composite Pattern
- Design Patterns - State Pattern
- Design Patterns - Proxy Pattern
Let's get started! Make sure you're seated comfortable, it's going to be a long one today!
The definiton, as usual: "Provide a surrogate or placeholder for another object to control access to it."
A new request popped up, we need to add in a multiplayer option in our game, featuring a Lobby where users can get in touch with each other.
This lobby is going to be running on another machine, or in our case, just another console application to illustrate it.
First of all, we're going to start by adding an interface ILobby to define our lobby.

We'll place this interface in a seperate library, to better illustrate the Proxy Pattern later on. This way you can clearly see on which machine a specific piece of code is located.
Time to create our actual Lobby implementation!
As mentioned before, we will create this in a seperate project to clearly show the code for the Lobby is not located on the same machine as our main client.

A very simple Lobby implementation, containing nothing more than a List<string> of Users.
At this stage, we can have our Lobby on one machine, but how do we add users to it from another machine?
This is where the Proxy Pattern comes looking!
Just to make one thing clear, the Proxy pattern comes in many different shapes, we're using it to give a client access to a remote object, by means of a placeholder, reminds you of the definition, doesn't it?
In our case, it's called a 'remote proxy', there is also a 'virtual proxy', a 'protection proxy' and more.
A virtual proxy can for example serve as a placeholder for an object which is expensive to create, if you want to retrieve an image over the internet, you could display an icon via a proxy while the real image is loading in the background.
So, let's create this placeholder on the client side.

By placing a reference to our previously created ILobby, this proxy allows our client to work with, what it believes to be, a real lobby object.
In reality however, their is no Lobby implementation in our client code at all, it is merely a placeholder which implements the correct interface.
You might have noticed the notion of a Socket already :)
Our proxy object might implement the correct ILobby interface, if we want it working, we will eventually need to call our real Lobby object.
In a first step this is done using sockets to connect to the server and communicate with the real object.
Before you go screaming .NET Remoting, hold your horses! This is meant to illustrate what is going on behind the scenes with a remote proxy.
When you're coming from the Java world, you might have heard people mentioning a Skeleton.
This is not something creepy, but simply a class on the server side which intercepts call from the Proxy, talks to the real object and sends the results back.
Here's a small part of our Skeleton code:

As you can see, the Proxy talks to the Skeleton, which talks to the Real Object, after which it sends the response back over the wire.
When we put all of this in action, we see the following happening:

Our main client talked to a remote Lobby and registered some users, great!
Now that we've seen how a proxy serves as a placeholder, it's time to clean this code and get rid of all the socket stuff.
Just a note, all the socket stuff in the project is highly unstable and not meant for production! Don't use it!! It's only meant for demo purposes :)
Let's work on the server side first by removing the Skeleton code, referencing System.Runtime.Remoting, and letting our Lobby class inherit MarshalByRefObject.

Last step needed for our server is to expose the Lobby object through Remoting, which is nothing more than having something like our previous Skeleton code hidden behind the scenes.

The only thing left to do now is to remove the Proxy class from our main project, and use Remoting to get an instance of ILobby, which acts as a proxy behind the scenes.

Resulting output when we run this version? Exactly the same! But a lot less work to implement :)
And that's it, another pattern in our heads!
I've uploaded the solution again to have a look at. When you run it, make sure your run the GameServer first, unblock it on your Windows Firewall, and then run the Proxy project.
Well, that's it, the last part of my series. I hope you liked them and learned a lot from it. Be sure to keep on visiting for some other tech subjects coming up soon.
You can always subscribe to the RSS feed to stay informed.
Thanks to the people who were generous enough to donate a little bit after reading some of these articles! (If you'd like to donate, simply use the PayPal button on the left :))
See you soon!
Some additional information on the Proxy Pattern:


